Get 15% OFF for your first order !
First Order

Prepare all the materials and tools and follow the steps below. Get your own unique belt NOW !

| Step | Key Actions | Tools/Materials Needed |
|---|---|---|
| 1. Prepare | - Choose 3–5 oz (1.2–2mm) vegetable-tanned cowhide - Gather buckle, hole punch, cutting tools, sandpaper, edge dressing |
Cowhide leather, belt buckle, utility knife/shears, hole punch, sandpaper |
| 2. Measure & Cut | - Length = waist size + 4–6 inches - Width: 1.25" (men) / 1" (women) - Cut belt strip straight or curved |
Ruler, straight edge, utility knife/shears |
| 3. Edge Prep | - Bevel edges at 45° with beveller - Sand with 150–400 grit - Burnish with edge dressing + burnisher |
Edge beveller, sandpaper, edge dressing, burnisher |
| 4. Attach Buckle | - Punch hole on non-tip end (match buckle size) - Secure buckle (screws/prongs) |
Hole punch, screwdriver, belt buckle |
| 5. Punch Holes | - Make 1" spaced holes on tip end (start 2" from end) | Hole punch |
| 6. Finish & Condition | - Apply leather conditioner/beeswax - Check hardware tightness |
Leather conditioner, soft cloth |
Cut with the grain (lengthwise) for durability.
Burnish edges thoroughly for a smooth finish.
Use rivets for extra reinforcement on thick leather.
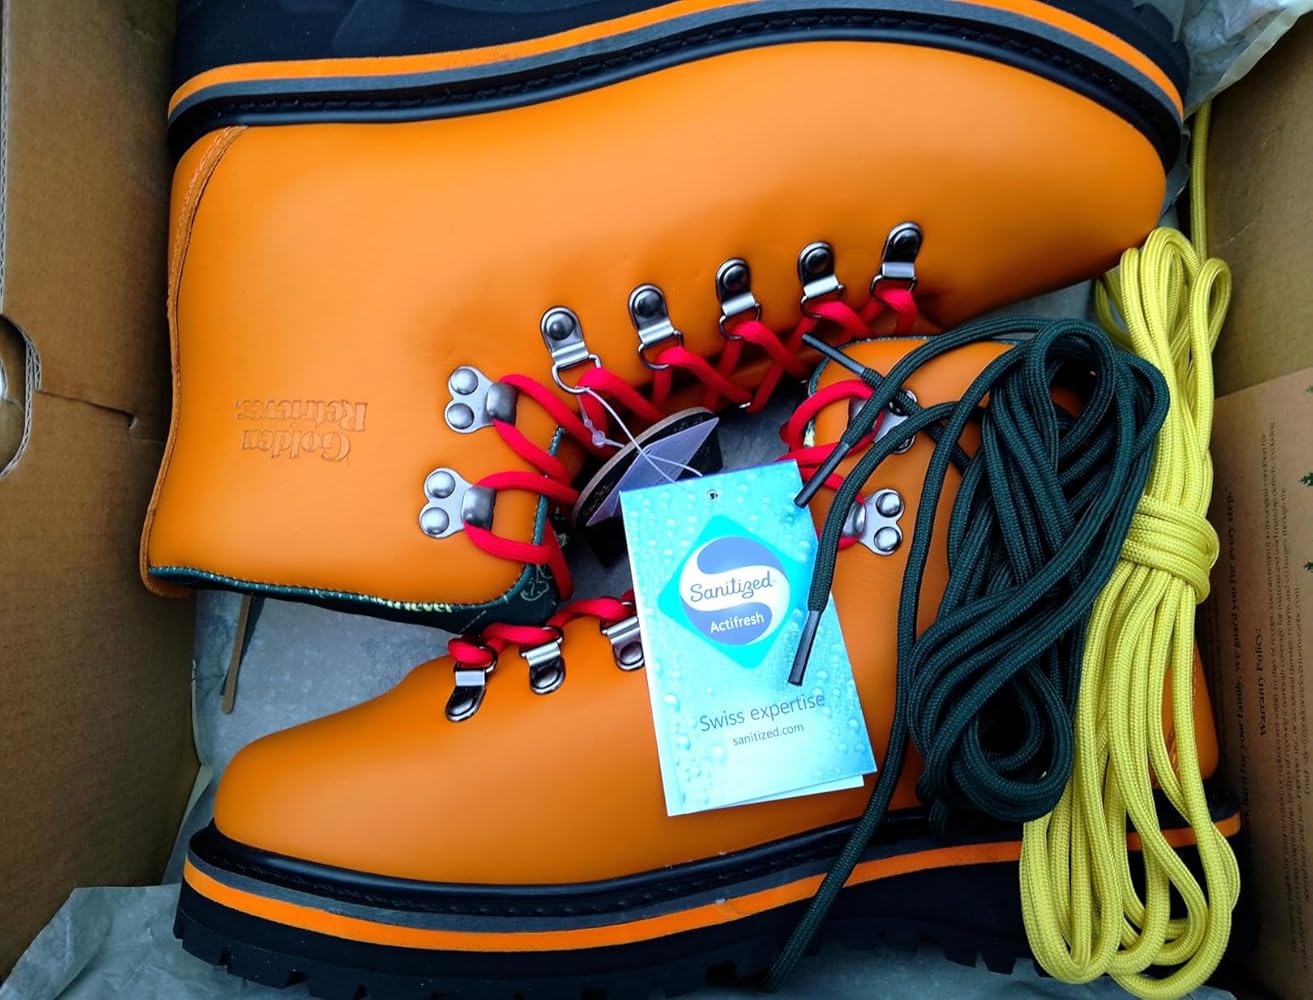
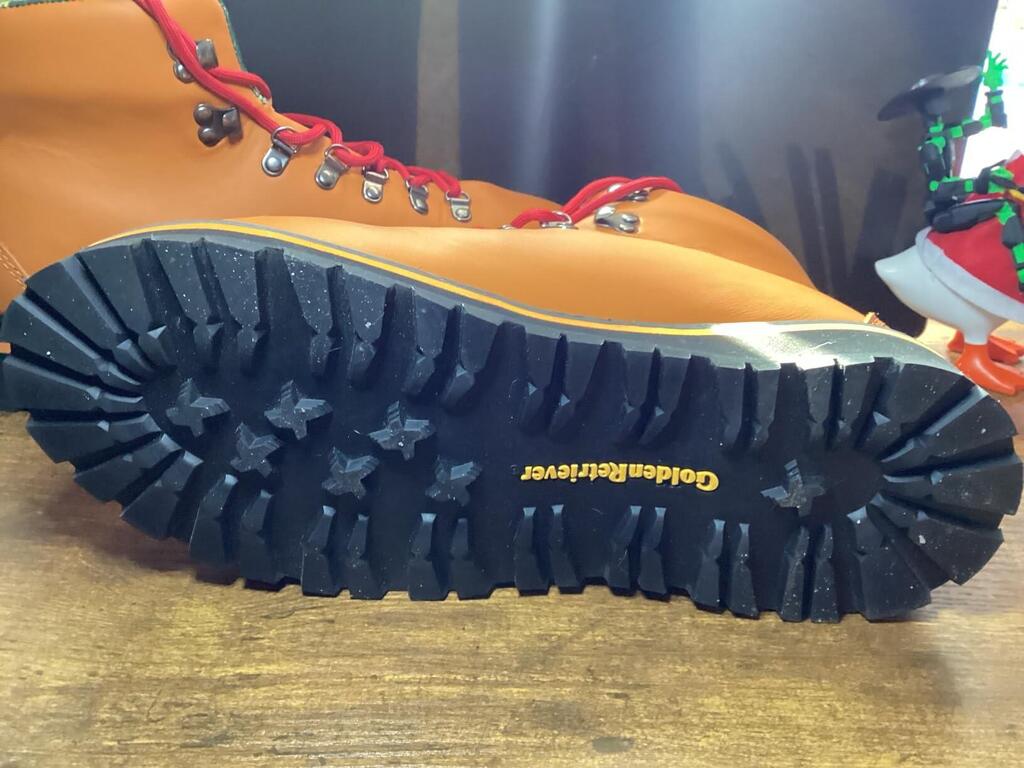
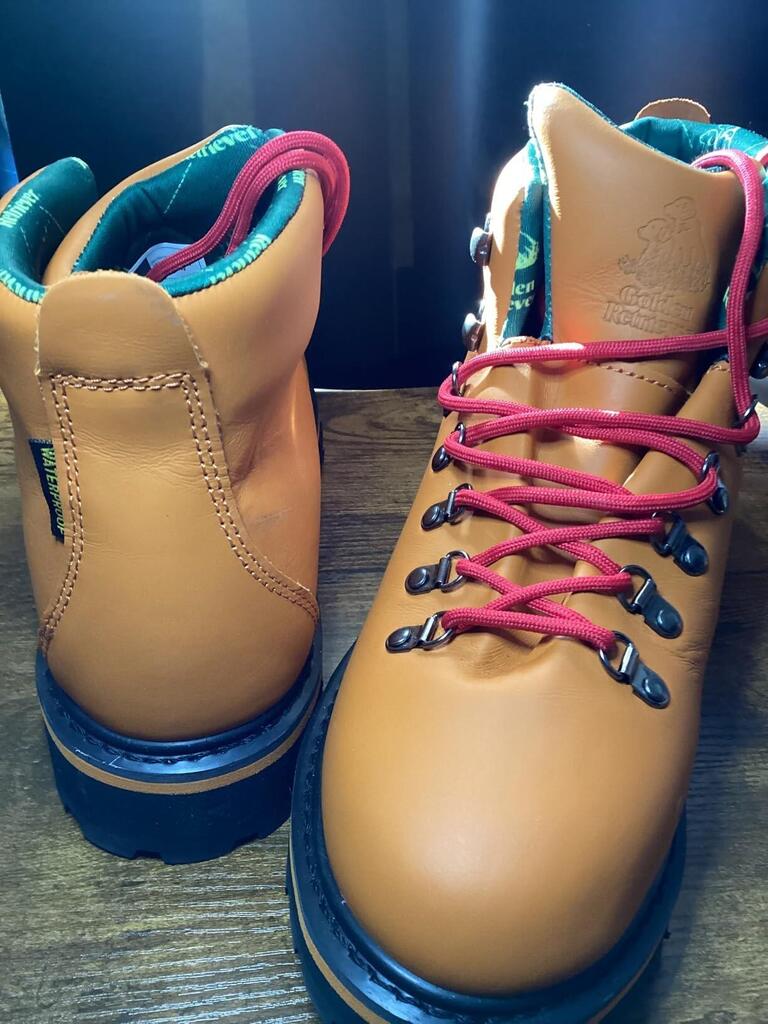
Our leathers come in Frontier Oil-Tan, Trailblazer Dark Horse and Heritage Full-Grain.
Golden Retriever's Heritage Craft Leather is softer and more pliable. Soft, flexible and absolutely luxurious, our customers love it. Makes a great belt, dog barker, keychain, wristband or wallet. This leather is fully pre-dyed for flawless results, saving you the steps of finishing your leather project. We love Golden Retriever and you will too.